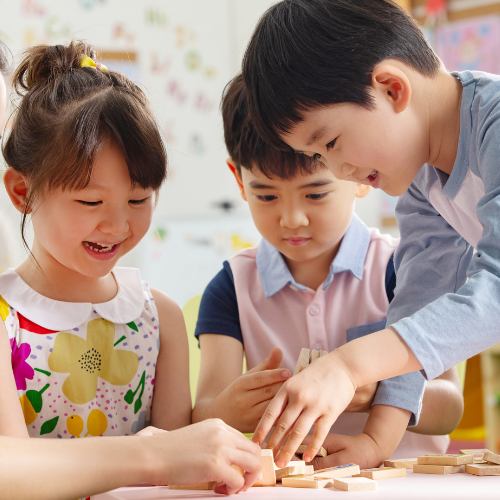
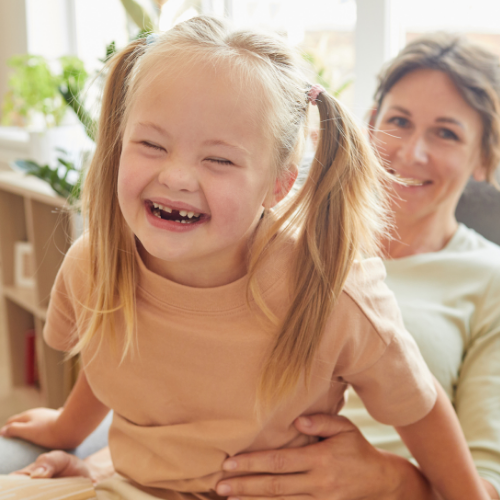
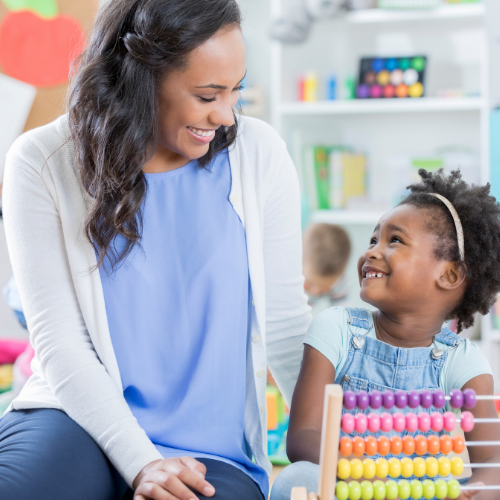
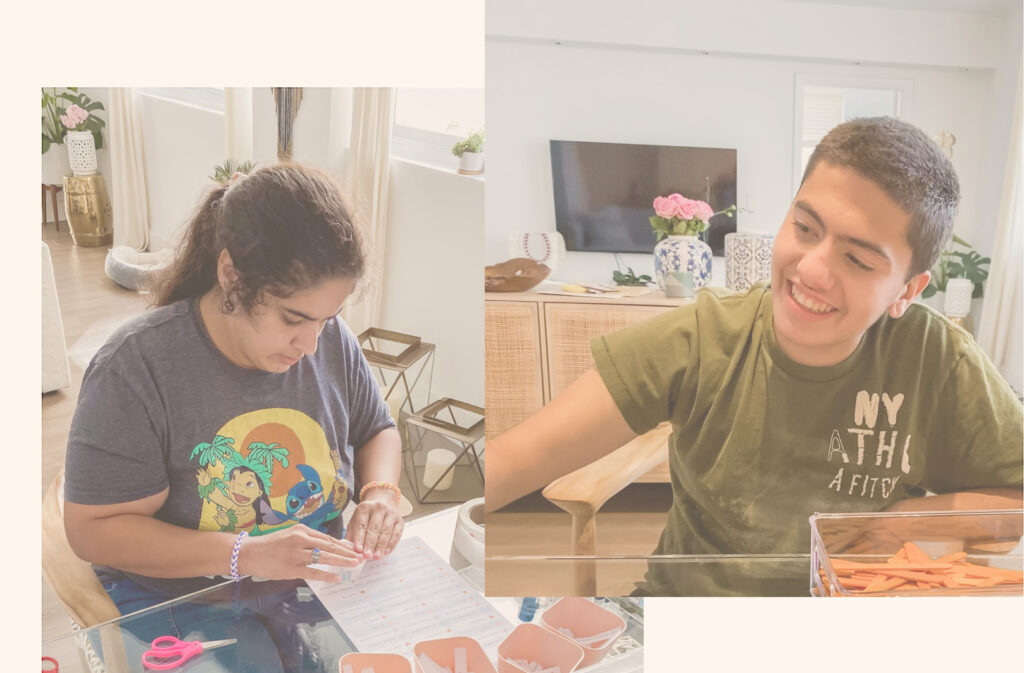
CUTTING- Everything you need to know!

1- Begin with good scissors. i.e the blade is not too long, scissors are easy to open. Use Left-handed scissors for left- handed children (the blade opens up on the opposite side). Personally I like Fiskars with the round thumb opening and oval (wider) opening for other fingers.

2- Position fingers correctly. This means make sure children use a thumbs up approach when cutting. Most children do not pay attention to the positioning of scissors…teach it! I show them the different sized holes and I tell them that the thumb goes in the small opening and other fingers in the larger opening. Teach it, teach it, teach it!!!

Correct finger positioning
3- While cutting, make sure children keep the thumb up (ie the wrist is supinated, never pronated), their arm close to the body and the wrist in neutral (never flexed).

Incorrect finger positioning
4- Begin with resistive mediums such as playdoh, straws, card stock then graduate to thinner paper.
5- Always start with Prep activities to cutting. Here are some that I use: I like putty for strengthening and finger awareness. I also use tools that mimic the open/ close motion of scissors or mimic the cause and effect of squeezing a tool to get an outcome ex: hole puncher, spray bottle, clothespins, tweezers, egg holder, grabber.

6- For beginners I highlight a thick line where they have to cut.

7- If a child has a hard time cutting during art project and I want him to still be part of the art project, I use a highlighter to draw a square or circle frame around the picture.

8- Teach cutting in the following order: snip, cut across paper, cut on a straight line, zig zag, curve. For shapes I like to teach square, triangle, circle then complex shape.
9- I like to verbally cue children with a little song as they cut…I’ll say open and close open and close and stop, now turn, open and close etc…I will also remind them to stay on the road!!!
10- Kids can become so focused on the “open and close” motion that they don’t always realize where the scissor is cutting… so I teach it! Are you on the road?

Are you on the road? “No!”

Are you on the road? “Yes!”…so we cut
11- If the paper is too large, cut around it, to make it easier for children to manipulate.


Here is a list of my Top 10 Fine Motor Tools along with activities you can do with your little ones.
1. Clothes Pins

Therapeutic Benefit: Strengthens muscles used for a pincer grasp which is a precursor to a tripod grasp on writing utensils (the most efficient type of pencil grasp).
- Pin on animal shapes for legs
- Use for color match
- Pick up items to sort
- Use for number match
- Hang up doll clothing on a hanging ribbon
- Make a cute craft
2. Stickers

Therapeutic Benefit: Stickers are small and delicate. They require children to use a neat pincer grasp with the tip of their fingers and to be gentle so as not to crumple the sticker (graded finger control)
- Check my post on 8 ways to use stickers
3. Scissors

Therapeutic Benefit: the open and close motion of the hand against a resistive medium helps strengthen the same muscles of the hand that are used for handwriting. Cutting is also an excellent bilateral coordination activity because as one hand cuts with the scissors the other holds and moves the paper (active assist). Furthermore, cutting takes motor planning skills as to plan how to cut out a figure.
- Cut straws to make a necklace
- Make long playdoh hot dogs and snip
- Cut along a maze or a road (great motor coordination activity)
4. Playdoh
Therapeutic Benefit: Great resistive medium to strengthen little fingers.
- Hide items in the dough and have children find them
- Make a hot dog and cut it with a plastic knife or scissors
- Stick golf tees and balance marbles
- Stick dry spaghetti or skewers and string beads on them (you can do a pattern)
- Roll out dough and used cookie cutters, rolling pins and cutting wheel
- Make little balls with fingers and squeeze
5. Shoelaces
Therapeutic Benefit: These can be used to work on various fine motor skills. When holding the tip of the lace, children work on improving neat pincer grasp. This is an important part of dexterity.
- Teach your child to tie shoelaces using 2 DIFFERENT colored laces
- Make holes on card stock paper and use to teach lacing
- Use for beading to make a necklace
6. Beads

Therapeutic Benefit: The small size of beads provides the opportunity to work on many fine motor skills that require neat pincer grasp. They can also be used for in-hand manipulation skills such as nesting and retrieving.
- Create little critters or Valentine’s hearts using pipe cleaners and beads.
- Make bracelets
- Hide beads in playdoh and look for them (strengthens fingers)
- Use for nesting/retrieving games.
7. Push Pins

Therapeutic Benefits: These can help strengthen neat pincer grasp which in turn is a precursor to a tripod grasp with writing utensils.
- Use push pins to poke around a shape
- Use similar colors to match answers on a cork board
- Poke on playdoh to practice making letters
8. Wikki Stix

Therapeutic Benefits: So many ways to meet therapeutic goals using wiki stic. Check out my post 10 Ways to Use Wikki Stix.
9. Tweezers
Therapeutic Benefits: This is another great way to strengthen muscles involved in neat pincers grasp which are also used to hold a pencil correctly during handwriting.
- Pick up small items to sort
- Pull out items from playdoh
- Use during counting games to pick up items
- Incorporate in an obstacle course ex: pick up item with tweezers, walk across a balance beam without dropping items.
10. Hole Puncher

Therapeutic Benefit: This is a good tool to strengthen muscles of the hand and also a great activity when teaching cutting skills because the hole puncher mimics the open/close motion of scissors.
- Teach cutting complex figures by hole punching along the shape and cut through the holes.
- Punch out holes from different colored construction paper and use the “confetti” to create a picture or write your name


Summer is here!!!! This is a great opportunity for parents to work on handwriting skills including a correct grasp and proper letter formation.
I have just finished doing OT screenings at various schools in my community and I noticed that many pre-K and Kindergarten children still show poor grasp and letter formation despite all the great literature and resources out there for teachers.
I believe that many teachers are taught to look at the final product instead of the process of handwriting and therefore they don’t readily pick up on the children with “handwriting issues” unless the writing is illegible.
Many parents are told to work on handwriting with their children but they do not know where to start. I therefore created a little kit so parents can work on handwriting and grasp over the Summer. Armed with the knowledge of what a correct grasp looks like along with proper formation of letters, parents can work on this at home.
For teachers who believe their students have difficulty with handwriting skills, this kit is a great recommendation for parents. You can shop for it right here!

Parents have been asking me the same question over the past 2 weeks…Where do I sign up my child for the summer? What is the best camp or activity to involve them in? So I figured I would post my favorite Summer activities for children along with benefits of these activities to help you pick the best activity for your child.
You may want to sign up your children in a camp specializing in these activities or find classes in your community where children can try more than one of the following. I also recommend these throughout the year. I like when children can be involved in activities as part of their natural routine (when possible) rather than through conventional therapy.
My Top 5 Activities for Children:
1- Swimming:

I love recommending swimming for all its benefits. The water is a calming to the body. It is great for children that need to work on core strength and bilateral coordination. Furthermore, the buoyancy of the water and its resistance provides a non- weight bearing medium to strengthen without hurting joints.
Living in Miami, many of my families have a pool. I recommend it as part of a weekly routine especially for children that need calming! (make sure you give them an activity to do not just splash around)
There are swim camps in our area. You can choose between formal swimming lessons to work on core and coordination or recreational swimming so kids can have fun in the water (my favorite
2-Gymnastics:

This is one activity that I highly recommend for children that require more body awareness, coordination, strength, flexibility and balance. I find that boys and girls really enjoy gymnastics. I believe the teacher is key. I like working with a local gymnastics teacher that works with children with special needs at a regular studio. The combination of one-on-one classes and group class is best!
3-Team Sports:

My favorite thing about team sports is the social interaction and camaraderie that children get to experience. Many times I have to work on specific skills with children in my OT sessions so that they can then get involved in a specific team sport. (Talk to your OT about the sport you would like for your child so that you can build skills for improved participation). I like team sports for the obvious gross motor skills that children will work on. But as part of a team, I also like that children have to pay attention to other kids’ body language and that they build s sense of teamwork.
4-Arts-n-crafts:

This is a great way to work on fine motor skills as well as express creativity with no right or wrong! This is wonderful for self-esteem (: Through crafts children strengthen little muscles of the hand that help improve dexterity and fine motor skills.
5-Martial Arts:

I like to recommend martial arts for children that need to improve attention, body awareness, balance, coordination and graded motor control. This activity works on gross motor skills but in a more disciplined/organized way. This requires children to pay attention and pay attention to their body movements and positions. This is great for children that do things too fast, need to slow down their motor output or need to learn to pay attention.

I want to share a very special activity that we did with the children in MissMancy’s Art Class at the Social Mind Center.
We are so Blessed and fortunate to do our part for the Special Olympics through Art!!!
These snowboards were provided to the Center so that we can have the children paint them and then return them to be used at the Special Olympics!!!!! How EXCITING!!!!! The kids were sooooo happy to be a part of this!
We have many boards to paint but this first one we attempted as a group!
First we painted the boards with a black acrylic paint and let that dry. Then we used blue painters tape (love that stuff!!! See my post on 10 different ways to use painters tape) and created a design on the board.

Children then went to town and painted using acrylic paints! The look comes out uniform because of the painters tape! So this is a great activity for children to paint freely!

I will keep you posted when they hit the slopes!
You can always try this activity on a canvas or on a compressed foam board or any surface that will allow the painters tape to be peeled off without compromising the surface!

1- Tic tac toe: I’m a huge fan of tic tac toe. It’s a great motor planning/problem solving game. You can use bean bags or 2 different colored items to play.

2-Sticky Spider Web: I saw this on handsonaswegrow.com and thought it was such a great idea! I adapted it to meet OT goals. First, i gather magazines and I ask the children to make balls by crushing the paper (this works on hand strength) I write numbers 1 to 10 on the web of tape. Kids pick a card with a math problem and they throw the newspaper ball on the answer!

3-Mazes: I’ve used this as a spider web or you can create a Maze on the floor., place foam letters in the maze. Children have to spell specific words. You can also have children kick a ball or a bean bag along the maze for eye-foot coordination!

4- Figure 8 fishing: create the number 8 with tape. place puzzle pieces in each of the circles. Have children walk along the 8 (great whole brain integration activity) when u say freeze they stop and pick up a fish.
You can do this with foam letters or numbers. Ask children to pick up the first letter of a word OR solve a math problem and pick up the answer.

5- Don’t steal my shape: I make a rectangle on the floor using tape. I place shapes on either side of the rectangle. One child stands in the box while the other is outside the box and tries to steal his shape.

6-Musical x: kids really love this game. Just like musical chairs. I make x’s on the floor with blue tape. I put on the music and kids dance around. Once the music stops they have to find an x to stand on otherwise they leave the game. Continue until the last man standing!

7- Letters on floor and kids lay on it: this is a great group activity to introduce letters.

8- Balance Beam: Make a simple straight line or curved or zig zag and have your child walk on it different ways ex: tip toe, forward heel toe, backwards, sideways, grapevine etc..

9- Paint a design: this is great for kids with very low fine motor skills to create wonderful art. Make a design with blue tape on a foam board (available at craft stores) For instance you can create beautiful chevron pattern or star beams. Have your child use paints or markers freely to paint the entire surface (who cares how it looks) once it dries and you remove the painters tape it will create a beautiful painting. Kids looove peeling the tape too! (Great for pincer work)

10- To facilitate cutting: great way to teach cutting on the line. Place tape along a shape and tell children to cut on the road. The blue tape is a great visual and the thickness of the tape facilitates cutting. Thick stock paper can be expensive s o this is a great way to thicken paper to cut.

Here are 10 Great Ways that I like to use Wikki Stix
1-Place it around the top end of crayons to give children a visual and tactile cue as to where to place their fingers

2-Teach how to color in the lines by outlining a shape with the string.

3- Teach how to trace by placing string outlining the shape (it becomes like a stencil) then have children trace either on the inside or outside border of the string.

4- Use over and over for word match games

5- Draw a design and have children fill it in with wax string or make figurines as it was designed to play.

6- Practice letter formation by writing words on paper and having children use precut pieces of string to form letters.

7- Form letters using foam letters

8-Teach cutting by having children cut along the wiki stick border

9- Play wall tic tac toe. The vertical surface is great for strengthening wrist flexors.

10- Work on motor coordination by creating a path with string and have your child draw a line by staying in the path. I also like using a wiggle pen for added hand control.

Something that has been coming up lately during sessions with my kids is the importance of Categories. When
Children begin acquiring language they first learn to label and name things in their environment. With time they learn to organize the many words they learn into more and more sophisticated categories ex: an apple can be categorized as food, fruit, perishable etc…
As OTs we don’t work explicitly on language but I love funding ways to invitoitdtr speech therapy goals during OT sessions.
Here is a little activity I created that works on teaching categories (SLP goal) while working on pincer grasp and strength (OT goals)
You Will Need:
- Miniature items such as erasers and small toys. (I have transportation and foods)
- Create labels with a visual for each category (in this case transportation and food)
- Adaptive chopsticks
This activity is also available here at Miss Mancy’s SHOP
The Activity:
Place all mini items in front of your child. Have them use the adaptive chopsticks to pick up one item at a time, name it and place it on the label for the correct category!

OT Corner:
I love using adaptive chopsticks to teach children the proper way to isolate the correct fingers and strengthen the correct muscles that they need for a proper pincer grasp.
Just make sure that they hold the chopsticks with their thumb and 2 first fingers and all other fingers are tucked in the hand. If the chopsticks are to heavy for little hands to hold, I allow them to use all other fingers however they MUST keep an open web space (i.e. the space between the thumb and index finger that forms a nice open circle when this tool is held correctly)
Working on these muscles is a great way to help children strengthen the muscles used for an efficient grasp on pencils!

I will try to share with you pictures of the wonderful activities that we do during Miss Mancy’s Fun with Science Classes at the Social Mind Center here in Davie Florida. It gets a little busy (and messy (: but i will try as best as I can)
Several weeks a go we began a planting activity with the children at the center. We used regular dried beans including Pinto, Lima, Kidney and Black beans. We placed them on wet cotton balls and allowed them to grow. The children were so excited to see that these seeds truly grew into small plants! Most of them did not believe it would happen!
This week, we continued our gardening project. The children planted the little plants into small ceramic pots. They watered them and some of them painted their pots! Everyone got a chance to take their plants home. We learned about the growth cycle of a plant and how to care for them!

So much fun and such a wonderful sensory activity for the children!


